How to Set Up a Water Ripple Stainless Steel Ceiling: A Comprehensive Guide
Table of Contents
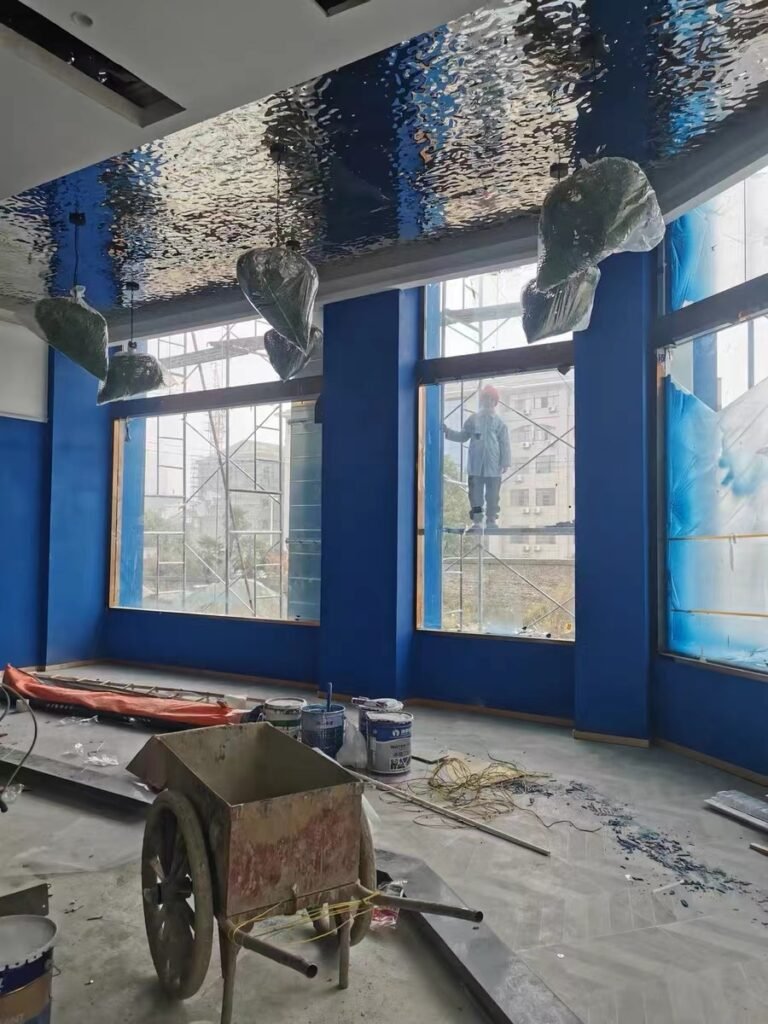
Water ripple stainless steel panels have become increasingly popular in both residential and commercial settings. These decorative sheets are not only visually appealing but also versatile, finding uses in wall cladding, countertops, backsplashes, indoor ceilings, and even furniture. Their reflective attributes make them especially attractive for projects requiring a sense of opulence. With its sleek, luxurious finish, this type of stainless steel paneling has been gaining significant traction in contemporary architectural designs.
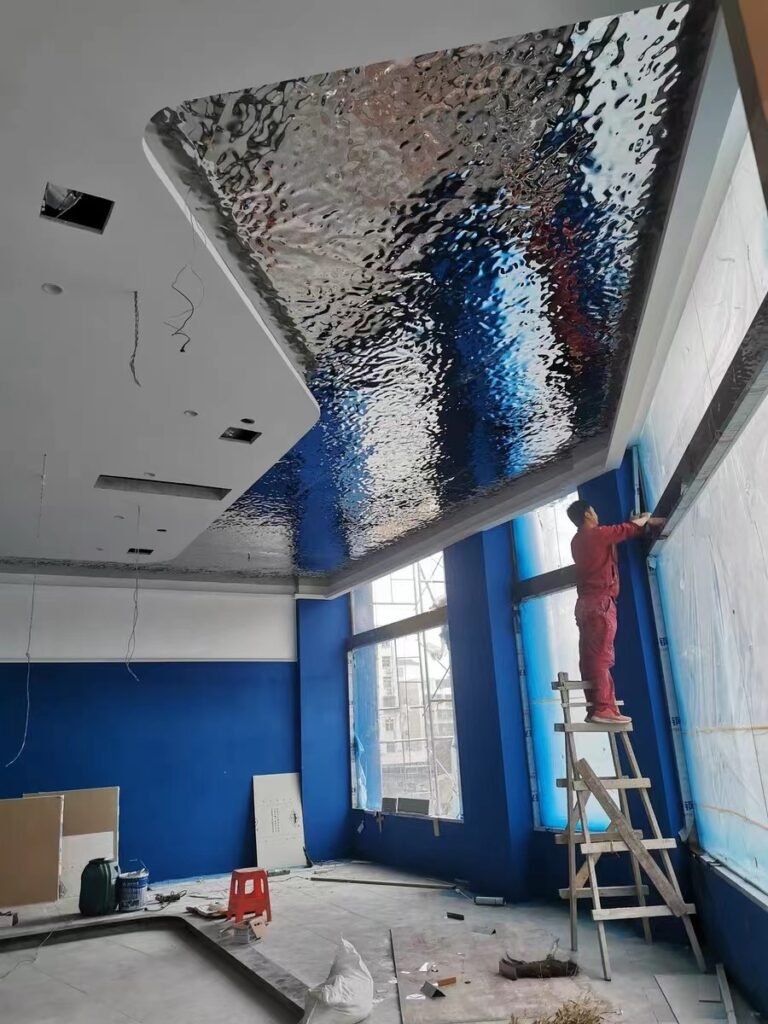
There are three primary techniques for affixing water wave stainless steel ceilings: adhesive-based (glue-up), mechanical fastening (clip-on), and grout-free methods. Each approach has its merits and downsides, and the optimal choice largely hinges on the specific requirements of the project in question.
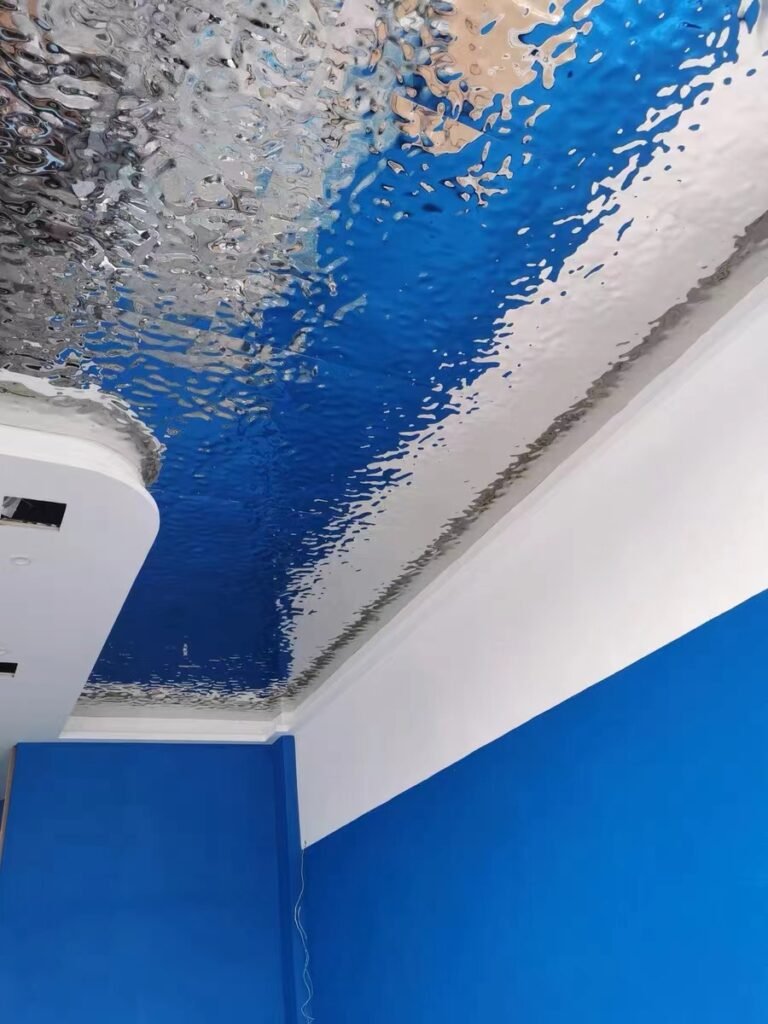
Adhesive-Based (Glue-Up) Method
The glue-up technique involves fastening the water ripple panels directly to the surface using specialized adhesive materials. This is particularly advantageous for projects with uneven or irregular substrates, as it guarantees firm attachment. On the flip side, this approach is labor-intensive and time-consuming. Consequently, this often makes it more costly compared to alternative methods, primarily because of the prolonged installation time.
Mechanical Fastening (Clip-On) Technique
The clip-on procedure is generally more budget-friendly, owing to its reduced labor and time demands. In this setup, the stainless steel water ripple sheets are affixed using clips that connect to a stainless steel extrusion mounted on the wall. Though this method prevents the panels from making direct contact with the substrate, it doesn’t secure them as firmly, which may lead to potential loosening over an extended period.
Grout-Free Attachment
The grout-free method is perhaps the most prevalent technique for installing water ripple stainless steel ceilings. Here, the panels are held in place with an array of specially designed clips that secure them without requiring adhesive or grout. It offers an economical and relatively quick installation process. However, it may necessitate additional bracing or reinforcements to ensure long-term stability of the panels.

Pre-Installation Steps
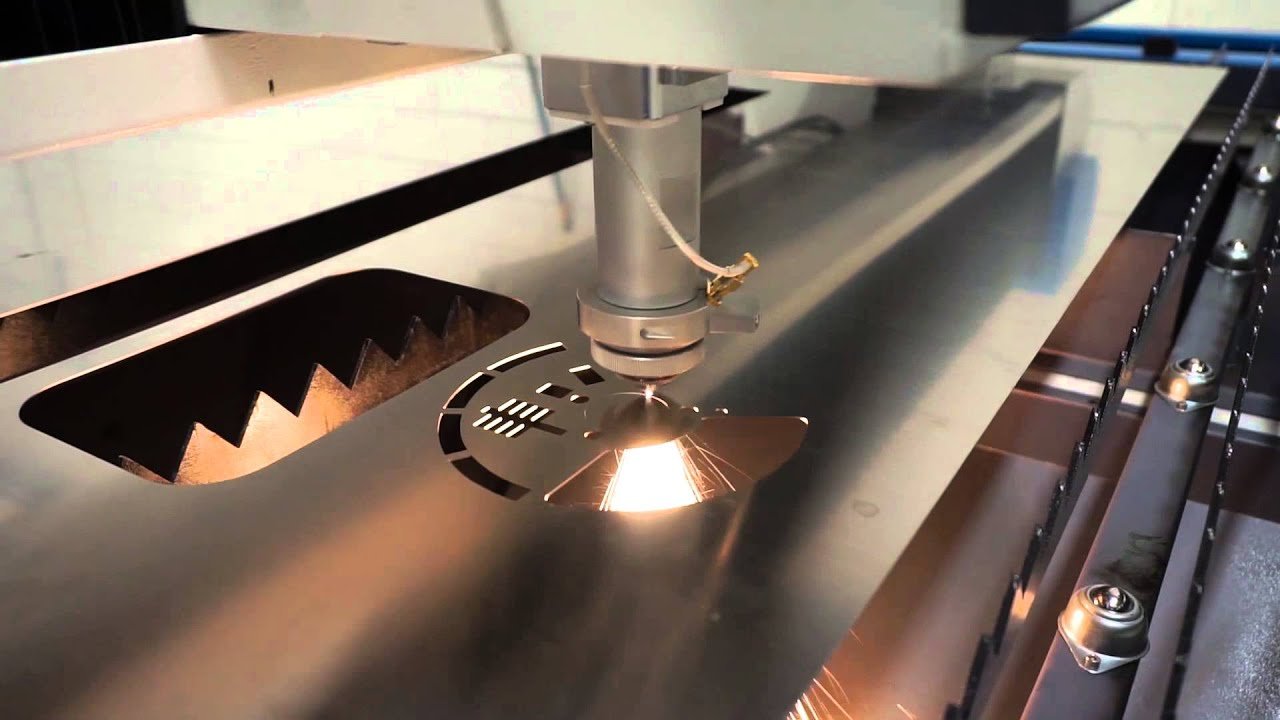
Regardless of the installation method chosen, it’s crucial that the corrugated stainless steel panels are formed into a frameless box structure through bending and welding before being installed, especially, method two and method three. This ensures an aesthetically pleasing and secure fixture.
Consult Professionals for Best Results
Given the intricacies involved in installing these decorative panels, it’s highly recommended to enlist the services of qualified and experienced professionals. Expert installation guarantees not only a visually striking outcome but also ensures the durability and longevity of your water ripple stainless steel ceiling.
In Conclusion
In summary, water ripple stainless steel panels offer a versatile and stylish solution for ceiling applications. Whether you opt for the adhesive-based, mechanical fastening, or grout-free method, taking time to choose the most suitable installation approach for your specific needs will pay off in the long term. Always consult with professionals to ensure that your project is executed to the highest possible standards.
You Might Also Like
Please Share This
Follow Us On Twitter
On-site Installation of Stainless Steel Screen Partition
Precision-made. Professionally installed.
Transforming spaces with durable, elegant metal dividers.
📮DM us for custom design and project support.
#interiordecoration #metalpartition #roomdivider #sheetmetalfab
Café Design | A Sensory Collision of Metal and Coffee
This design is from BOUNDLESS SPACE DESIGN OFFICE
If you are interested in stainless steel decorative materials, please contact me for a quote !
Email: claire@jyfmetal.com
#interiordecoration #decorativematerials #metallic
Stainless Steel Fluted Panels & Skirting Boards
Clean lines, large size, premium finish — perfect for luxury interiors.
Custom colors, surface treatments, and dimensions available.
📩 DM us for catalogs or project solutions.
#flutedpanels #metalskirting


