How to Install Stainless Steel Trim: Step-by-Step Guide for DIYers and Professionals
Table of Contents
Stainless steel tile trims are popular aesthetic and functional finishing options for various tile installations. They offer durability, resistance to impact, corrosion, and scratch-resistance. Installing stainless steel tile trims can be tricky, but with the right tools, measurements, and techniques, it becomes easy to achieve the perfect installation.
This article is a comprehensive guide on how to install stainless steel tile trims, including a brief overview, tools required, preparation, and a step-by-step guide.
Overview
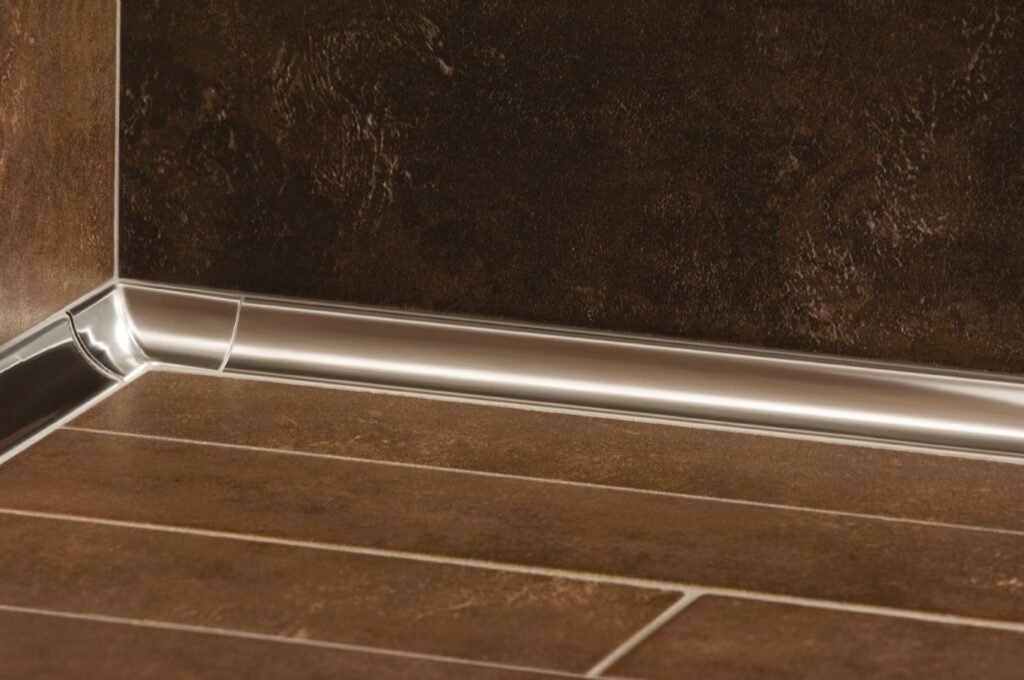
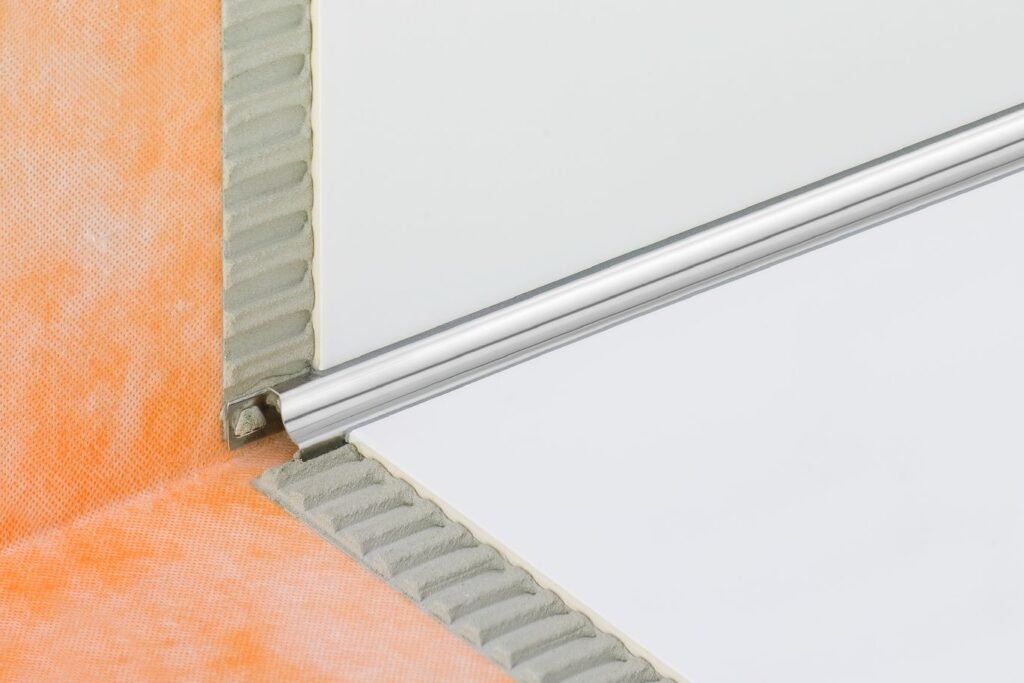
Stainless steel tile trims are thin strips of stainless steel that provide stylish finishes for tile work. They come in various profiles, shapes, and sizes, with endless choices of finishes such as brushed and polished. They are popular in contemporary interior design and are used for wall and floor tile transitions, edge protection, or to cover unsightly edges.
Tools Required
Before commencing the installation process, it’s important to gather all the necessary tools. Here is a list of essential tools you’ll need for the installation process:
Measuring tape
Metal or tile snips
Screwdriver or drill
Silicone adhesive or construction adhesive
Caulk gun
Rubber Mallet
Sandpaper or finishing tools
Pencil or marker
Preparation
Good preparation is key to a well-executed installation. Here are some steps to prepare for installing the stainless steel tile trims.
Measure the Length of the Wall or Floor Area
Measure the length of the wall or floor area where the stainless steel profile is required. You can do this using a measuring tape.
Select Your Stainless Steel Trim Profile
Once you know the length of the area where you need to install the stainless steel profile, you can choose the appropriate profile. You can match the profile with your tile finish. Pick a profile that best matches your tile design and style.
Cut the Stainless Steel Profile Trim to Length
Using metal snips or tile snips, cut the stainless-steel profile trim to the measured length. Ensure that you cut the stainless-steel profile trim carefully to prevent it from bending or deforming.


Installation Process
Now that you’ve taken the necessary preparation steps, it’s time to install the stainless steel tile trim. Here’s a step-by-step guide to follow:
Method 1: Adhering With Construction Adhesive
Step 1: Clean the Surface
Clean the surface area where the stainless steel tile trim will be installed. Use a damp cloth to remove any dirt, grease, or debris that may be present. The surface should be clean and dry before proceeding with the installation.
Step 2: Apply Construction Adhesive on the Back of Trim
Apply construction adhesive to the back of the stainless steel profile trim. Use a caulking gun or another appropriate tool. Apply the adhesive uniformly and in the right amount to ensure proper adherence.
Step 3: Press the Stainless Steel Profile Trim Onto the Surface
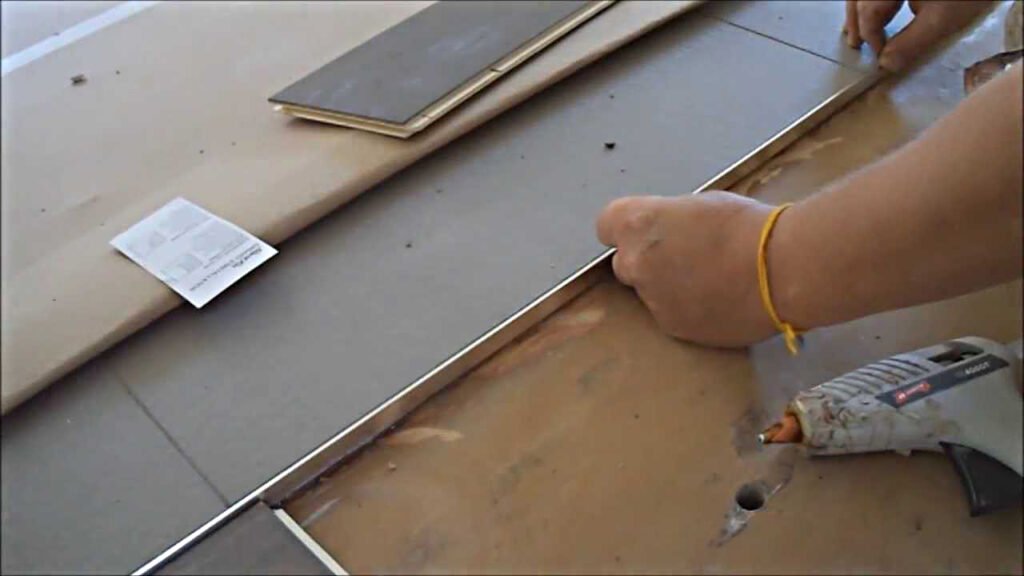
Press the stainless steel profile trim onto the surface with the adhesive side facing the substrate. Use a rubber mallet to tap the trim gently to ensure that it is evenly aligned with the edge of the tile. Ensure that the trim adheres properly to the surface.
Step 4: Allow the Adhesive to Cure
Allow the adhesive to cure according to the instructions provided by the manufacturer. Curing time will vary depending on the type of adhesive used.
Step 5: Apply Sealant
Run a bead of caulk or silicone around the installed trim to seal any gaps and create a smooth finish. Using a caulking gun, apply an even and consistent amount of sealant, starting from one end of the trim and working towards the other end.

Method 2: Using Clips
Step 1: Clean the Surface
Clean the surface area where the stainless steel tile trim will be installed. Use a damp cloth to remove any dirt, grease, or debris that may be present. The surface should be clean and dry before proceeding with the installation.
Step 2: Attach Clips to Base Substrate
Attach clips to the base substrate using screws. Make sure that the clips are spaced evenly and aligned with the edge of the tile.
Step 3: Insert the Stainless Steel Profile into the Clip
Insert the stainless steel profile into the clip. Push the trim into the clip as far as possible but not too tight, leaving some space for expansion.
Step 4: Tap the Stainless Steel Trim Gently
Using a rubber mallet, tap the stainless steel profile gently to secure it in place. The clips are adjustable, and you can adjust them accordingly to ensure the trim is level and straight.
Step 5: Secure the Clips in Place
Once you have positioned the stainless steel profile trim correctly, use screws to secure the clips to the substrate. Ensure that the screws are tight enough but not too tight to avoid damaging the clip.
Step 6: Seal the Gap
Finish the installation by using caulk or silicone to seal the gap between the stainless steel profile and the tiles. Run a bead of sealant to create a smooth and even finish.
In Conclusion
By following the steps outlined in the article, you can install stainless steel tile trims successfully. Whether using construction adhesive, clips, or tile adhesive, good preparation, selecting the right tools and techniques are essential for a perfect finish. It is always important to take your time, double-check measurements, and cuts, and ensure that your stainless steel trim adheres well with the substrate or tile. Always finish the installation with a sealant to ensure a long-lasting and professional-looking finish.
You Might Also Like
Please Share This
Follow Us On Twitter
On-site Installation of Stainless Steel Screen Partition
Precision-made. Professionally installed.
Transforming spaces with durable, elegant metal dividers.
📮DM us for custom design and project support.
#interiordecoration #metalpartition #roomdivider #sheetmetalfab
Café Design | A Sensory Collision of Metal and Coffee
This design is from BOUNDLESS SPACE DESIGN OFFICE
If you are interested in stainless steel decorative materials, please contact me for a quote !
Email: claire@jyfmetal.com
#interiordecoration #decorativematerials #metallic
Stainless Steel Fluted Panels & Skirting Boards
Clean lines, large size, premium finish — perfect for luxury interiors.
Custom colors, surface treatments, and dimensions available.
📩 DM us for catalogs or project solutions.
#flutedpanels #metalskirting


