Detailed Explanation of Interior Decoration Finishing: Trim Strips and Caulking
Table of Contents
In the design community, there’s a saying: “Decoration is all about finishing. If you don’t understand finishing, you don’t understand decoration.” Though it might sound exaggerated, it underscores the significant impact of finishing techniques like trimmings and caulking on the overall quality of design works.
In our previous article, “Solving 95% of Finishing Issues with This One Approach,” we introduced the concept and principles of finishing, including various forms and design considerations. Finishing can be categorized into five main types: trim strips, caulking, leaving a gap, staggered joints, and butt joints. Today, we’ll delve into the details of trim strips and caulking, covering the following aspects.
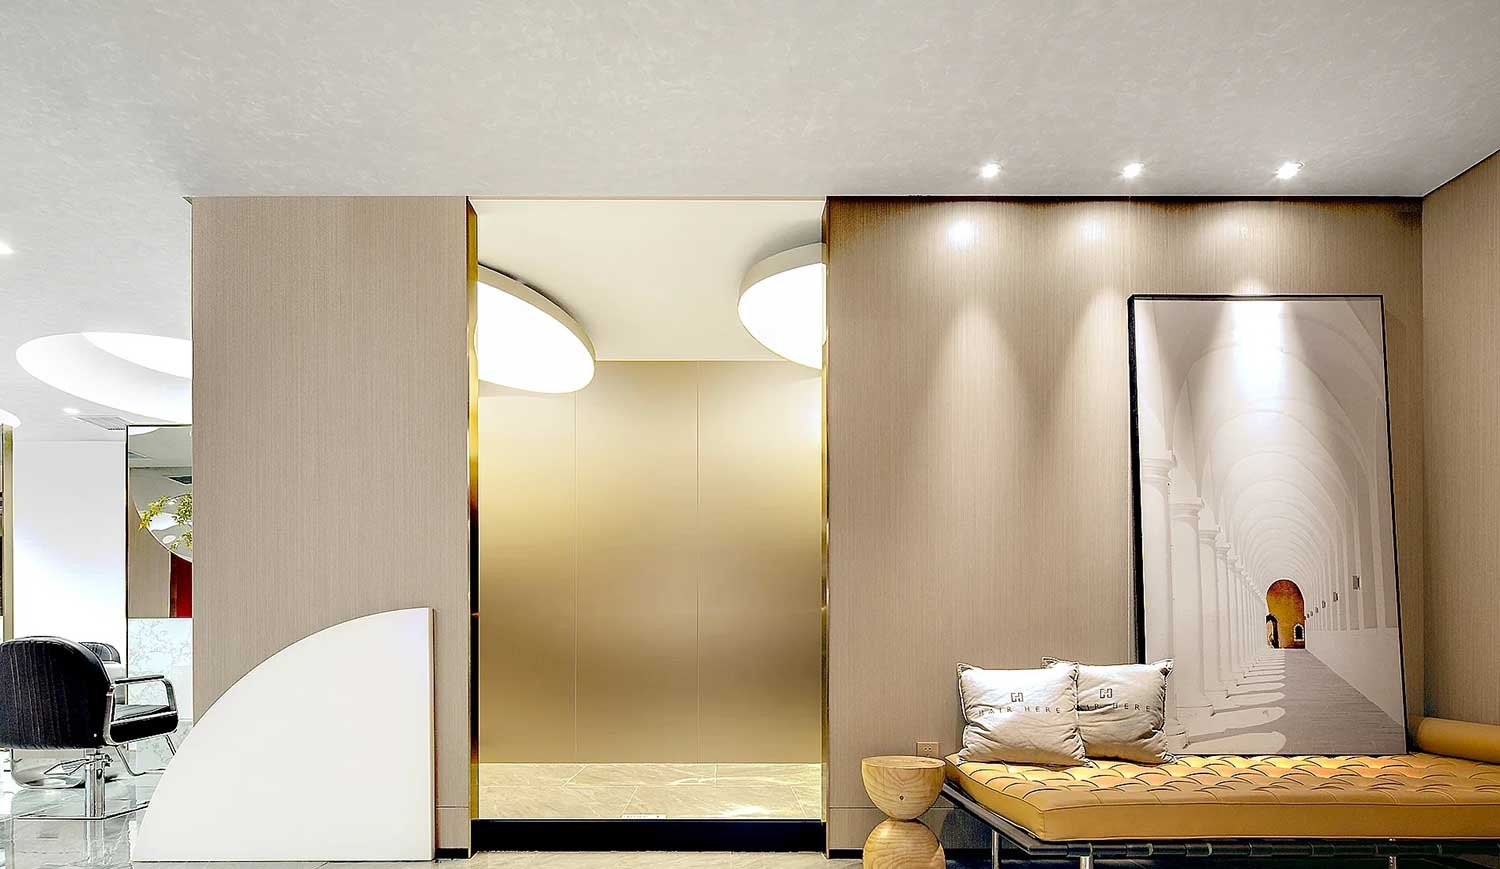
Trim Strips and Caulking: Purposes and Types
Finishing refers to the construction techniques and practices used at the junctions of different or similar materials. This includes dealing with the joints and seams at edges, corners, and connections by covering them with finishing materials to conceal the base materials and compensate for any shortcomings in the surface finish. It can also involve using specific materials to decorate transitional areas between decorative surfaces to enhance the overall aesthetic.
Finishing can be divided into five categories: trim strips, caulking, leaving a gap, staggered joints, and butt joints. Based on the continuity of the finished surface, finishing techniques can either require additional materials or not. The focus of today’s discussion, trim strips and caulking, fall into the category that requires supplementary materials.
Trim Strips
1) Purpose of Trim Strips:
- Prevent cracking due to thermal expansion and contraction;
- Serve as a connection and protection for materials;
- Cover expansion joints and other gaps.
2) Common Types of Trim Strips:
- Internal corner trim: Used to cover gaps in internal corners, such as those found in indoor wall corners;
- External corner trim: Similar to internal corner trims but used for outdoor wall corners;
- Transition trim: Suitable for areas with a height difference indoors, such as transitions between bedrooms and living rooms;
- Flat trim: Used for covering expansion joints between large floor areas.
Caulking
When it’s not feasible to create an internal corner for finishing, compensation mediums like caulking can be used. Caulking involves using materials other than the original ones for finishing, with the most common being sealant.
1) Purpose of Caulking:
- Waterproofing, dustproofing, and insect proofing;
- Compensating for defects and shortcomings post-decoration;
- Enhancing linearity and overall aesthetics;
- Enriching the visual layers of floors and walls.
2) Types of Caulk:
The term ‘caulking’ here does not refer to a specific type of caulk but to a construction technique. Indoor caulks can be classified into three main categories based on their use:
- Sealant caulk: Suitable for sealing, plugging leaks, and providing wind and rain protection;
- Structural caulk: High strength, capable of bearing significant loads, and resistant to aging, fatigue, and corrosion. It’s used for bonding structural components;
- Weather-resistant caulk: Similar to sealant caulk in basic use but with excellent weathering resistance, high and low-temperature resilience, suitable for sealing joints in metal, concrete, and construction.
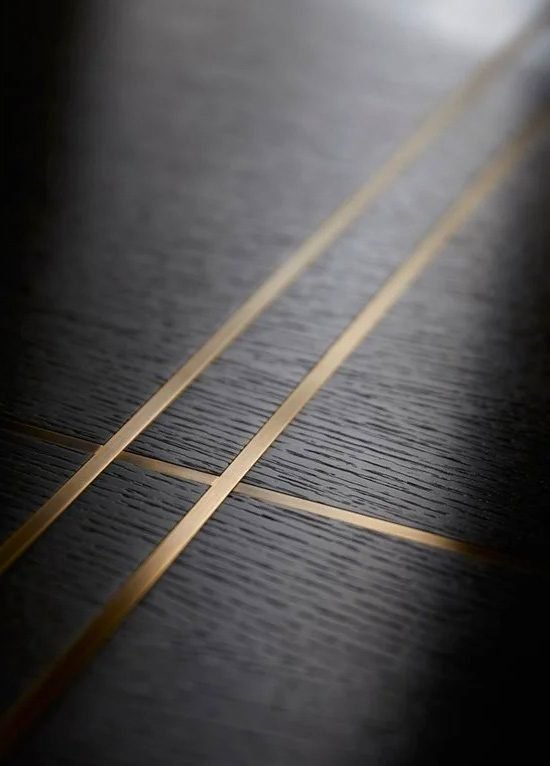
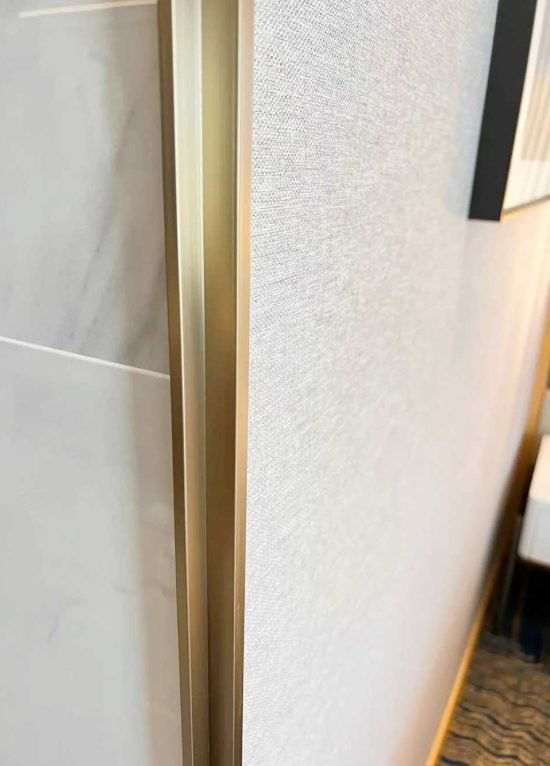
Additionally, terms like “beauty caulk” and “joint beauty caulk” refer to the caulking technique aimed at processing the edges, corners, and connections of decorative surfaces to address any deficiencies and enhance decorative effects.
At JYF METAL, we understand the importance of finishing in interior decoration and are committed to providing high-quality materials and solutions for trim strips and caulking applications. Our expertise ensures that the finishing touches on your projects not only look great but also stand the test of time. Trust JYF METAL for all your finishing needs, where quality meets craftsmanship.
Construction Considerations
Understanding the role and types of strips and rubber side closings is essential. Let’s explore the key points to pay attention to during construction for two different closing methods.
Trim Strips
When dealing with closures, it’s crucial to determine the materials and locations to decide the appropriate method. Here are some considerations for various materials and parts:
1. Stone Material and Ceramic Tile Positive Angle Closures
Stainless steel bars are commonly used for both stone and ceramic tile, providing a smooth transition. Ensure the pressure strip slightly protrudes to avoid exposing the profile material on both sides.
2. Ceramic Tile to Ceramic Tile Positive Angle Closures
Aluminum and PVC tapes are more frequently used here. Be aware that aluminum tape quality varies significantly in the market; lower quality aluminum can corrode easily.
3.Wood Veneer and Wallpaper Shade Angle Closures
Metal stainless steel boundary bars are typically used, offering an effective transition. During installation, ensure the bar slightly pops out to prevent exposure of the profile material.
4.Stone and Wood Veneer Flat Closures
L-type metal strips are suitable for edges, but due to their bulkiness, they are less frequently used.
5.Stone and Floor Flat Closures
Stainless steel folding is often employed, with the pressing strip directly nailed to the floor keel for a precise and aesthetically pleasing finish. After cutting, planing the floor is essential to avoid visible burrs.
6.Stone and Mirror Flat Closures
This transition is straightforward. When installing stainless steel bars, ensure wood screws are flush to avoid affecting the mirror installation and flatness.
Culking
1.Choosing the Right Caulk
Select a caulk type based on the environment—silicone for wet areas (bathrooms, kitchens) and acrylic latex for dry areas or paintable surfaces. Ensure you have the correct color or opt for paintable caulk if necessary.
2.Surface Preparation
Clean the surface thoroughly to remove dust, dirt, or old caulk. The cleaner the surface, the better the caulk will adhere.
3.Application Technique
Use a steady hand when applying caulk, ensuring an even bead along the seam. Control the pressure on the caulking gun to avoid over-application or gaps.
4.Smoothing the Bead
Immediately smooth the bead after application using a tool or your finger dipped in water to ensure a clean and professional finish.
5.Allow for Curing
Depending on the caulk type, allow for sufficient drying and curing time. Don’t expose the caulk to moisture or heavy use until it has fully set.
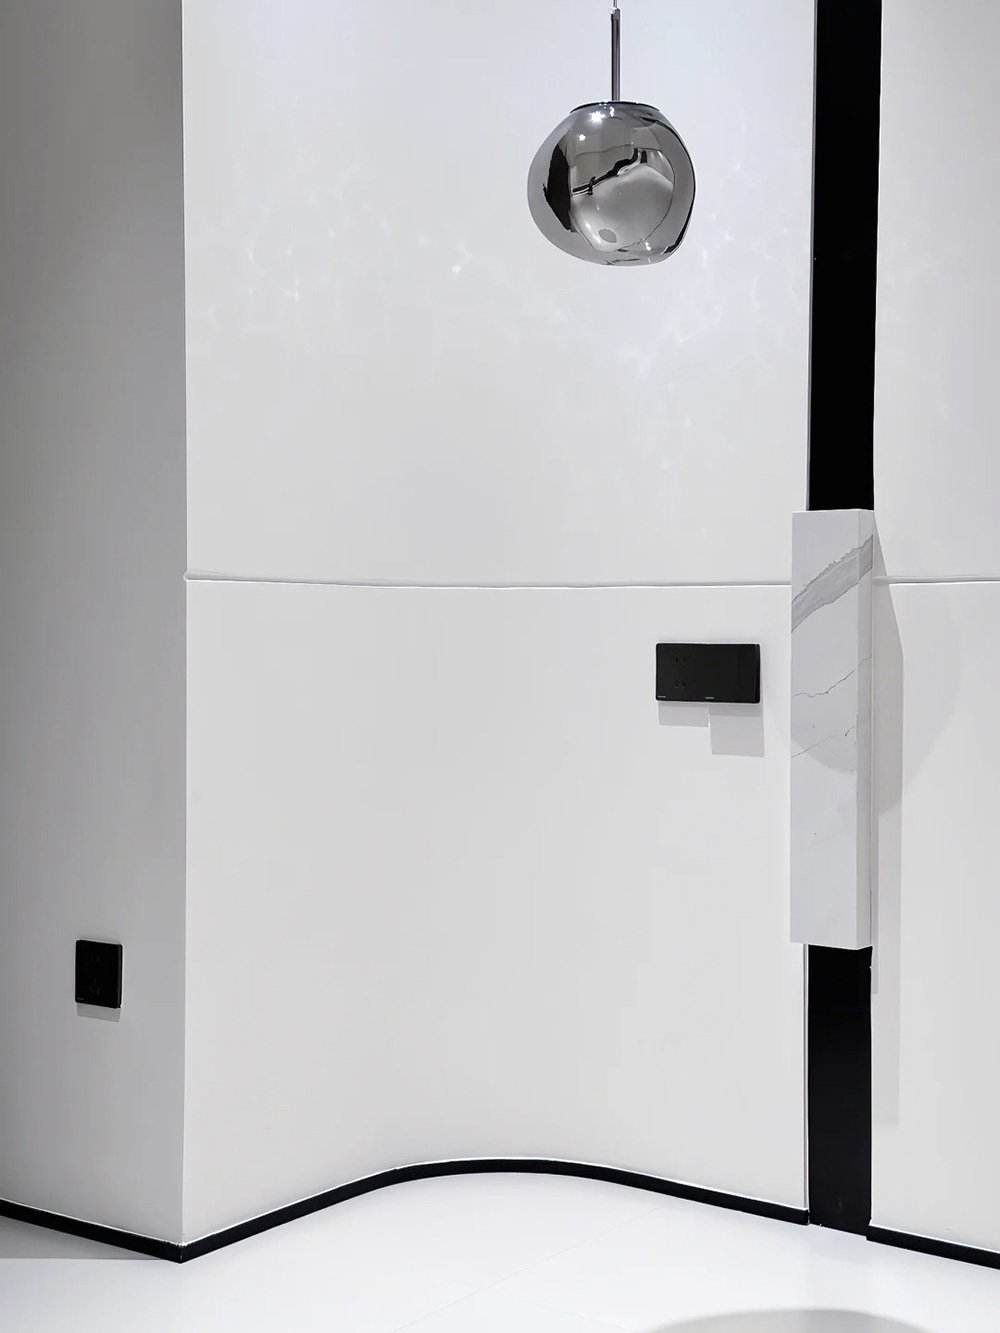
Practical Application
Let’s explore how laminating and gluing are applied in real-life scenarios.
Trim Strips
Having understood the four types of pressure strips, let’s examine their real-life applications based on these categories.
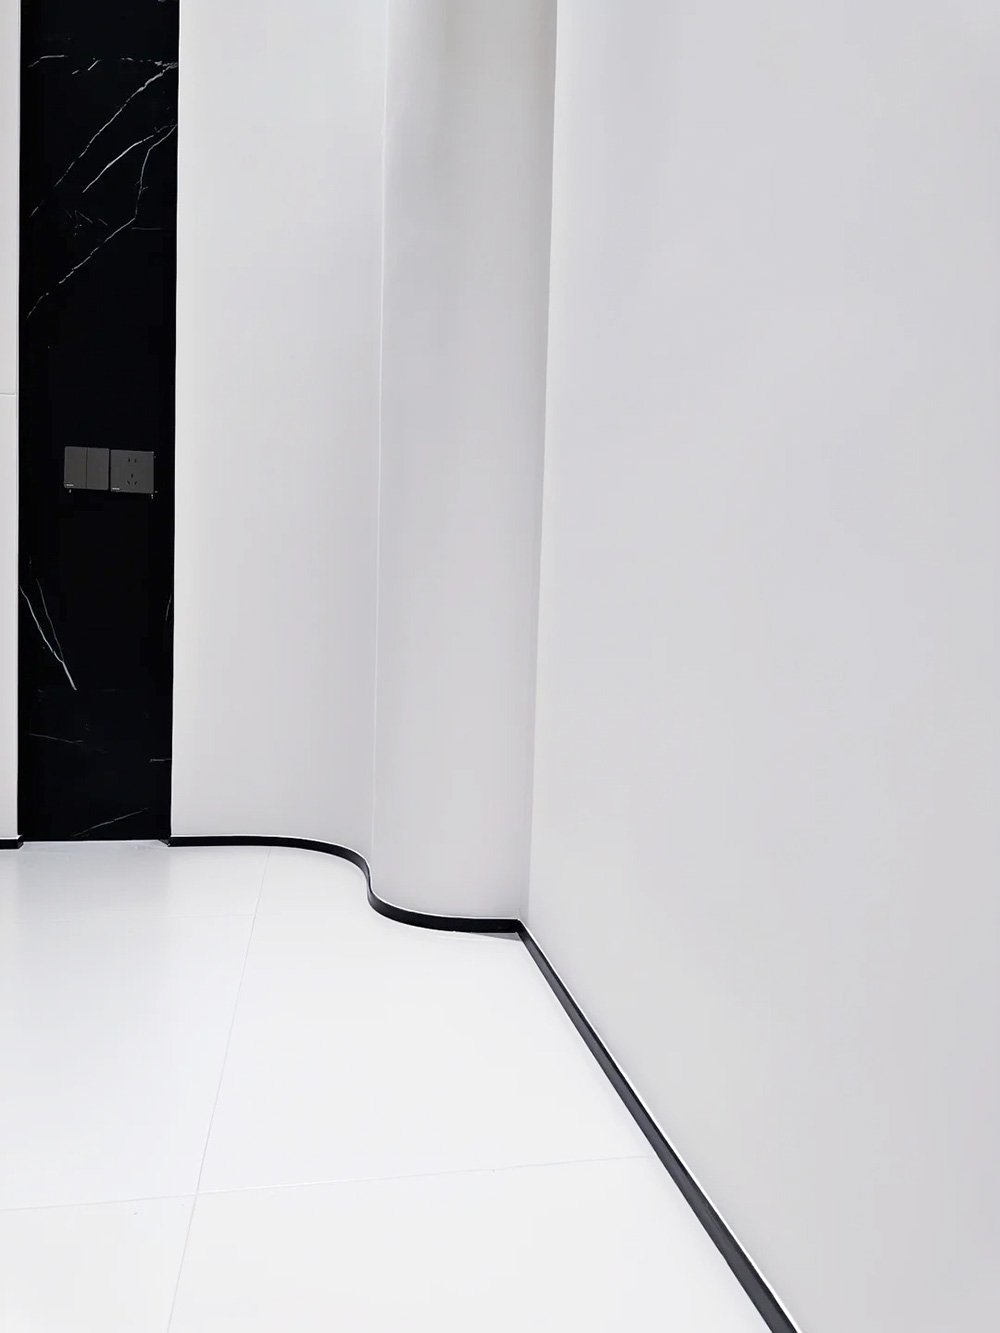
1.Negative Angle Pressing Strips
Negative angle pressing strips effectively address issues such as material splicing defects at corner closures while offering strong decorative appeal.
2.Positive Angle Pressing Strips
Managing sun angle closures can be challenging. Using sun angle pressing strips transforms the angle into a flat mouth, making it both aesthetically pleasing and easier to construct.
3.High and Low Pressure Strips
When there’s a height difference within a room, high and low pressure strips provide an excellent transition solution.
4.Flat Plates
Flat plates not only facilitate the transition between two materials but also serve as effective separators while offering decorative benefits.
Caulking
1.Bathroom Sealing
Caulking is essential for sealing gaps around bathtubs, showers, and sinks, protecting the space from water leaks and preventing the growth of mold and mildew.
2.Window and Door Frames
Apply caulking around window and door frames to block drafts and improve energy efficiency by preventing unwanted air infiltration.
3.Exterior Joints
Use caulking to seal gaps between outdoor building materials like siding, roofing, and foundation joints, protecting against water damage and reducing air leaks.
4.Interior Trim Sealing
Caulking is often applied at the seams of baseboards, crown molding, and other trim work to create a seamless transition and prevent dust or pests from entering through gaps.
You Might Also Like
Please Share This
Recent Posts
- Stainless Steel Color Panels in Hotel Projects: Applications and Design Insights
- Stainless Steel Screens in Hotel Spaces: Design Strategies and Applications
- Large Stainless Steel Planters for Architectural and Commercial Landscape Projects
- Stainless Steel Outdoor Railings: Engineered for Durability, Designed for Style
- Metal Outdoor Signage: Durable, Customizable, and Professional Wayfinding Solutions

